Making soymilk is like alchemy. Turning America’s underappreciated cash crop into a delectable, smooth drink feels like magic. However, this recipe is not for the faint-hearted. It requires a good amount of niche home kitchen equipment and a couple hours of work.
You might be surprised by the scale of America’s soybean crop. It’s second only to big corn and far outstrips wheat and every other crop, but it has low visibility to the average consumer because almost all of it is pressed into vegetable oil and livestock feed and/or exported. Tofu, tempeh, edamame, soy sauce, and soymilk comprise a vanishingly small percentage of the crop.
This project started back in September 2020, when my college friend Alvin and I were discussing pandemic cooking projects. He had been reading some soybean scientific literature and refining his formulation for “delicious, reproducible soymilk” using a few uncommon techniques like applying boiling water to soak and slow-cooking. Then, in the winter, several times I tried buying bottled soymilk from Chinatown and found it overly sweet and—even worse—spoiled and slimy. I asked my friend for tips, and he generously shared his recipe notes and even supplied me with a starter bag of soybeans (thanks!!).
Since then, I’ve cooked 24 batches, so most weeks. There’s been lots of titration, experimentation, and tasting. We’re finding soybean skins and okara crumbs everywhere in the kitchen.
Pressure Cooker Soymilk
Ingredients: 167g (~1 cup) dried soybeans, water, granulated sugar, salt.
Equipment: kitchen scale, pressure cooker (6 qt. Instant Pot), immersion blender (or blender, or food processor), cheesecloth (or nut bag), fine mesh sieve, and wooden spatula.
- Soak 167g (~1 cup) dried soybeans in about 800 mL of boiling water for at least 4 hours, or overnight.
- Optionally, de-skin the beans. This is best accomplished by straining out the beans 15 minutes after applying boiling water and then serially squeezing pairs of beans out of their skins with your fingertips into the reserved water. It takes 20–40 minutes.
- Replace the soaking water with 800 mL filtered water.
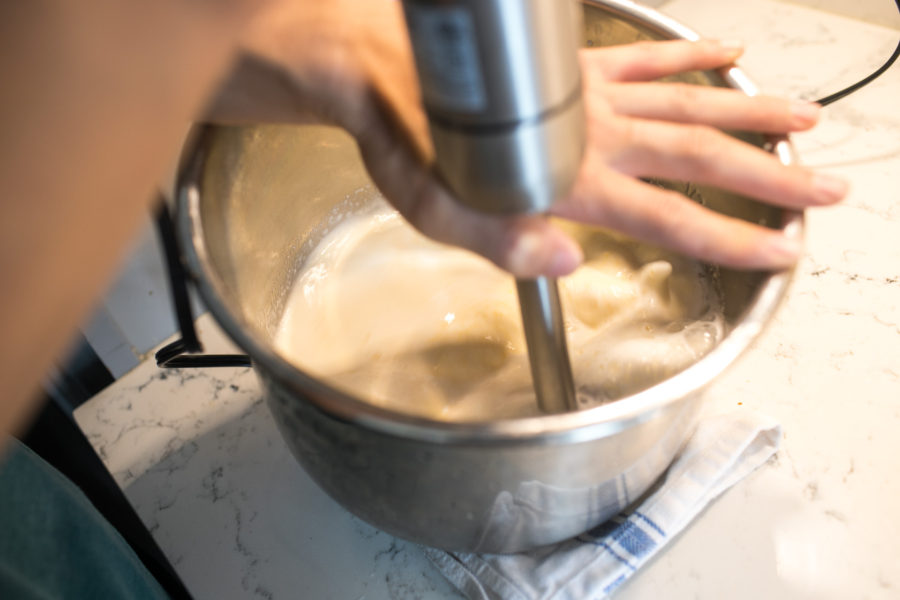
- Blend until fine, about 2 minutes with an immersion blender.
- Cook at high pressure for 10 minutes, then allow to vent naturally over about 30 minutes. At the end, loosen caramelized residue with a wooden spoon.
OR Slow cook on high for two hours, vented. - Set four layers of cheesecloth in a sieve over a container. Strain the mixture, then extract more soymilk by pouring over 400 mL more water (1200 mL total) in two fractions, squeezing out after each to maximize yield. Don’t burn your hands.
- Dissolve in 40g sugar, and ½ tsp Diamond Crystal kosher salt.
- Drink at any temperature. Store refrigerated for up to a week.
Recipe Notes
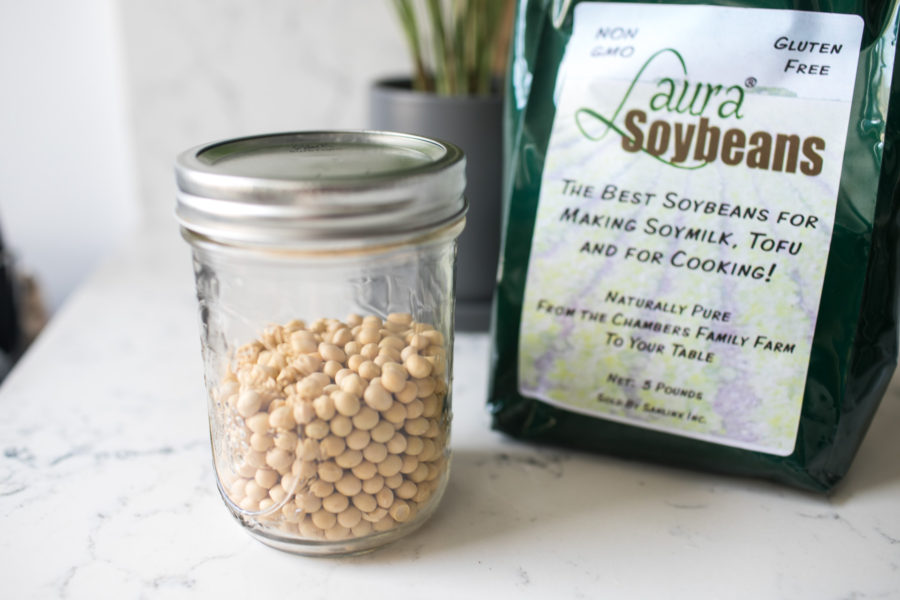
The quality of beans is paramount. This testing was done with Laura Soybeans.
Soak.
Fully rehydrated skinned beans are around 210% dry weight and about triple the volume. This marked volumetric expansion and evaporation thus require at least 3 cups of water for a cup of soybeans. Skins, if left on when rehydrated, add about 10% weight.
Higher temperature initial water shortens soaking time. Most recipes require at least 6 hours for cold water and but recommend overnight soaking. However, full hydration is achieved with boiling water by about 3 hours as measured by weight, and applying boiling water enables expedient peeling.
If the ambient temperature is high, the soybeans are susceptible to fermentation. If a concern, consider soaking in the refrigerator overnight.
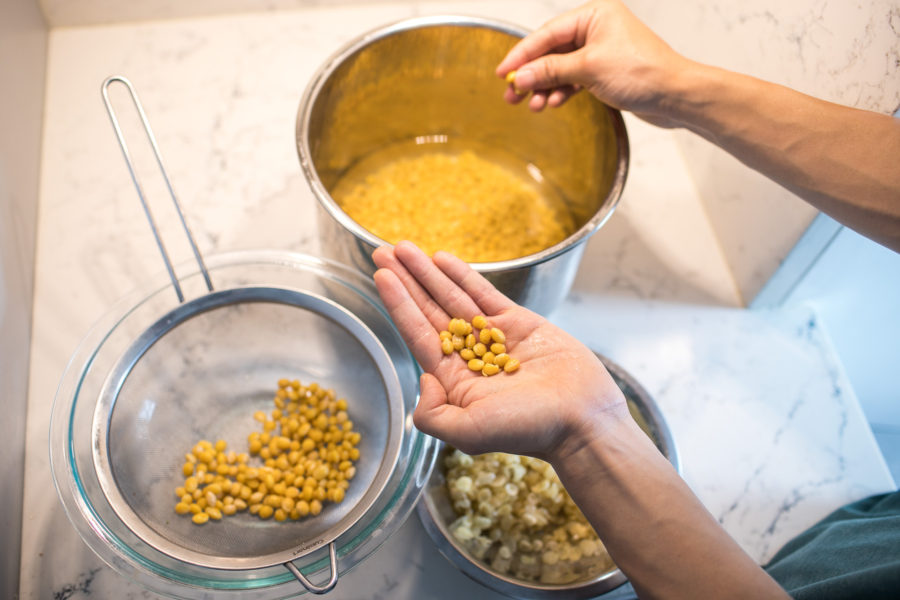
Peel.
This tedious manual step is optional but improves the clarity of flavor. It takes 15–40 minutes to de-skin one 167g batch of ~750 beans. Good presoaking and de-skinning technique helps me surpass 8 beans per 10 seconds needed for 16 minutes.
By applying at least a moderate volume (around 3 cups) of boiling water, the water rehydrates and loosens the skins. 10–15 minutes is enough time for the skins only to rehydrate but not let the beans themselves plump and become taut against the skin. 3 cups water is about the sweet spot for self-equilibration so that the water is at a workable temperature when it’s had just enough time to loosen the skins. However, it’s easiest to just strain out the beans at 10 minutes into a big sieve and peeling from that.
This is the fastest technique I’ve found: on the kitchen counter, I organize the sieve with the beans on the left; a garbage bowl on the right; and the Instant Pot with the boiled water as the receptacle in the middle-back. I grab about 12 beans in my left hand as a staging area over the pot. After selecting and positioning two beans between the tips of my right thumb, index finger, and middle finger, I pinch firmly to eject the beans directly into the pot. Then, I flick my wrist to throw the retained skins into the garbage bowl.
Alternatively, I was ejecting the skins into my left palm as to ensure the skin separated well before shoveling small handfuls into the pot. I did this for many batches, until I found reliable presoaking parameters and practiced enough.
Measure Water.
I prefer a ratio of ~1:3 (~3.3:10) rehydrated skinned beans to water. Ratios ranging from 1:5 (2:10) to 1:2 (5:10) yield drinks ranging from watery to creamy.
I discard the soaking water midway through the process because I felt like the initial blast of boiling water accentuates the unpalatable taste of the skins. I use filtered water because why not. Still, it’s probably okay to reuse the soaking water; just be mindful about insensible losses during soaking and re-measure the water weight right before cooking (either filter out the beans or manually tare against the weight of the vessel plus 350g for rehydrated beans).
Blend.
I apply an immersion blender for ~2–3 minutes, angling both the pot, to increase effective central depth, and the device, so the vortex’s suction circulates the beans. The finer the grind of the soybean pulp (okara), the better extraction of soymilk. This is plainly visible as soon as the blender is introduced, as the water will quickly turn from transparent to opaque white as the beans are pulverized. A reasonable goal consistency is the texture of very coarse sand.
Cook.
This is the tough part. Soy must be cooked to degrade the inedible “beany”-tasting compounds (apparently hexanols and hexanals). In addition, with sufficiently high heat or pre-cooking some soybean pulp, a small portion (maybe 5%) of the mass is caramelized, adding a toasty, complex note to the product. Unfortunately, with the usual recipe of boiling stovetop for 15–20 minutes, soymilk is notorious for its tendency to boil over into a sticky mess within mere seconds of inattention.
Pressure-cooking is kind of cleaner (the bubbling-over is contained, anyway), a little more consistent, and faster. Setting to high pressure for 5 minutes is sufficient for the beany taste to disappear. On our 6-qt Instant Pot, set at normal volume, high pressure often results in the “burn” warning, but I just ignore it. At the end of cooking, the caramelized residue takes a flat-bottomed wooden spatula and some effort to dislodge.
Another alternative is to slow-cook on high at sub-boiling temperatures for 2–3 hours. It’s simple and cleaner (no caramelized residue, no bubbling), and results in an entirely satisfactory product.
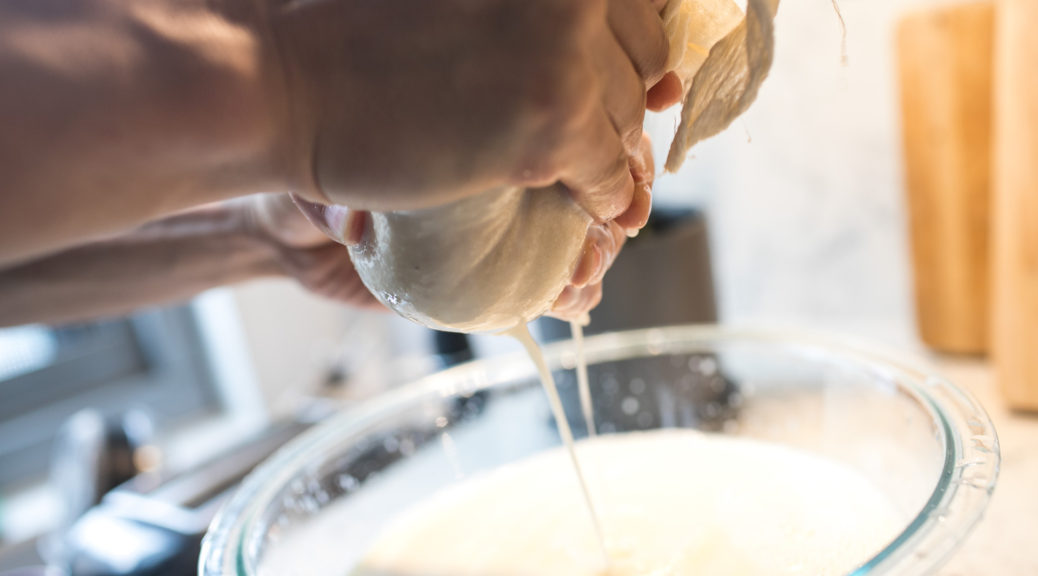
Strain.
I fold four layers of fine cheesecloth into a fine mesh sieve and pour through the cooked mixture into a pot. Then, I do a three-step extraction with more measured-out filtered water, wringing out as much liquid as I can especially after the last step. Allowing it to cool for a few minutes helps avoid burning my hands. I typically achieve around a 95% yield (~1150 ml product from 1200 ml water).
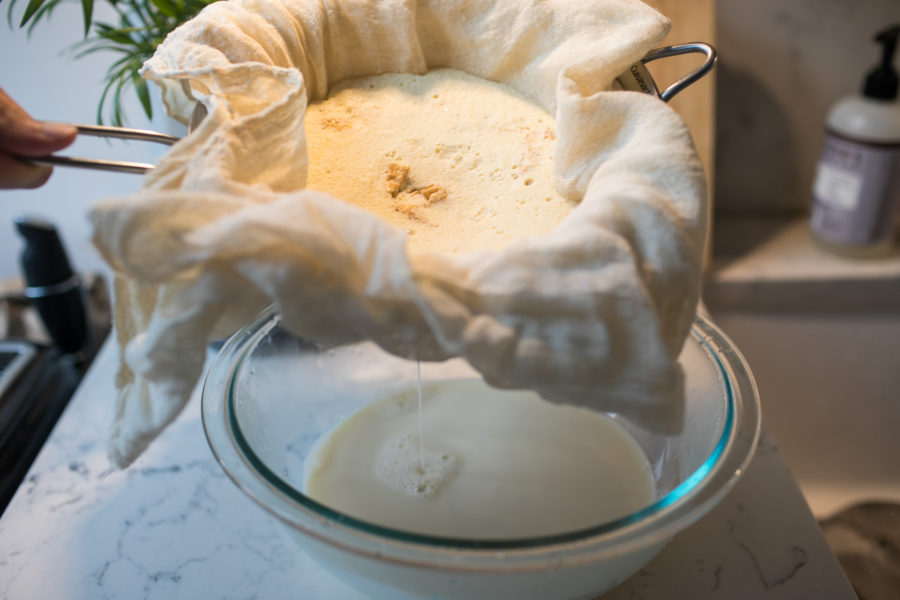
Using several passes through a fine mesh sieve or using a dedicated nut milk bag are fine alternative methods. The residual okara is still rich in unextracted nutrients and can be eaten by the spoonful or used as an oatmeal-like ingredient.
Sweeten/Season.
I used to reweigh the final product before calculating the precise weight of sugar required, but my extraction yield is consistent enough to not need final reweighing. Concentrations ranging from 2% to 7% yield drinks ranging from neutral to cloying. Totally unsweetened doesn’t taste that good. I prefer something around 3%, apparently. Subjectively, a higher bean concentration requires less sugar to taste “right.” A very, very small pinch of salt—½ tsp Diamond Crystal kosher salt—helps accentuate the flavor, but it is easily overshot; even 1 tsp tasted too present.
Like with anything, solutes like sugar and salt dissolve faster in hot liquids, but a vigorous whisking ensures complete dissolution. (If using a different salt variety or brand, recall the different densities of table salt versus the various brands of kosher salt, and that volumetric measurements are more precise than kitchen scales for such tiny quantities).
Drink.
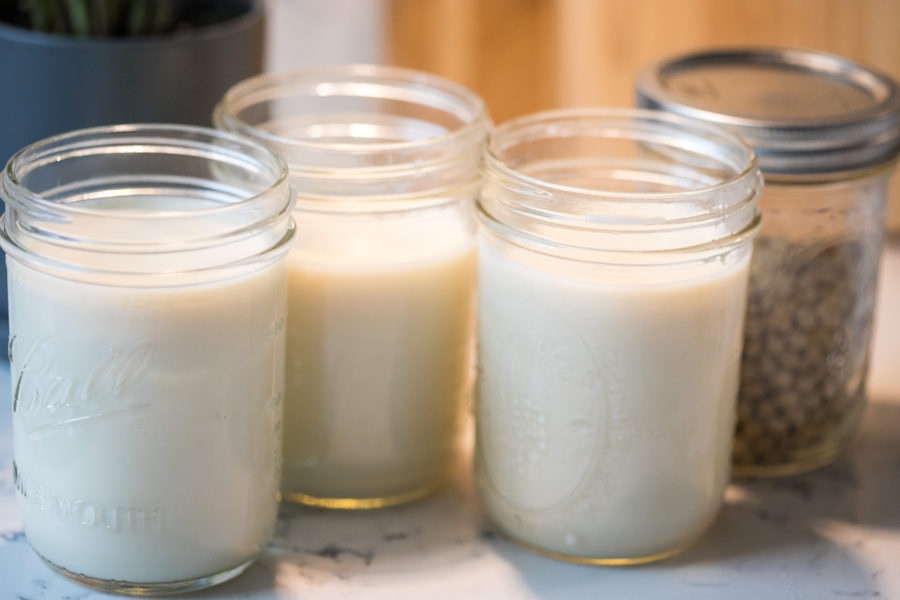
This quantity yields three full Ball jars. I drink from the jars straight out of the fridge after a good shake to dissolve the sediment.